by Jen Santoro
It’s 4 pm on Wednesday and you know that by the time you make it to Mountain Dell you’ll have exactly 70 minutes of ski time before it’s dusk, the turkeys are chasing you, and maybe the groomers are nipping at your heels. You glance sideways at your classic skis — the ones you keep for those two WCS races every year, and grab your skins or skate skis and head out. It’s a no-brainer. Why would you ever spend time waxing, when you could spend that time skiing instead?
Hold up.
What if I said that spending 15 minutes at the trailhead, and a little time on the weekend getting prepared would make you a better all-around skier, EVEN SKATE? Hear me out.
Skating is fast. Fun. Easy to move over the track at a decent rate of speed, even if you’re pretty new to the sport. I remember. Coming from cycling, everyone picks skate because it uses many of the same leg muscles. I’ll bet you get a great workout too — I can remember lapping Mountain Dell in the high 170’s while folks twice my age would float by me, smiling like Jessie Diggins, hanging out on one ski, not a care in the world. Breathing through their nose.
And classic? Oh, I wasn’t going to go there. Many new skiers are convinced by themselves or others that classic is either “too hard” or “complicated”, that you have to learn it when you’re 2, or that waxing is something too difficult to overcome. There have always been fish scales, and now we have skins, which have opened up doors for many people. I haven’t bought any yet, though, and here’s why.
Learning to ski classic on waxed skis has been my greatest coach (except for Ms. Kjesbo Ms. Kjesbo). The year I was pregnant with my second, I dedicated to classic skiing. Sure, I kept getting heavier, which made it easier and easier to feel the magic “kick” we all talk about.
As I learned what it meant to “have kick”, I also learned how to wax. More on that in a minute. The real magic was that the year I skied classic about 75% of the time, and vowed to do so regardless of snow conditions, I truly learned to ski efficiently. Not only that, my skating made drastic improvements even though I hadn’t skated much at all. To be fair, Bill Koch was awesome the first time he skated after a lifetime of classic (not comparing myself to Bill, of course).
Classic is the Fundamental Skill of all Skiing
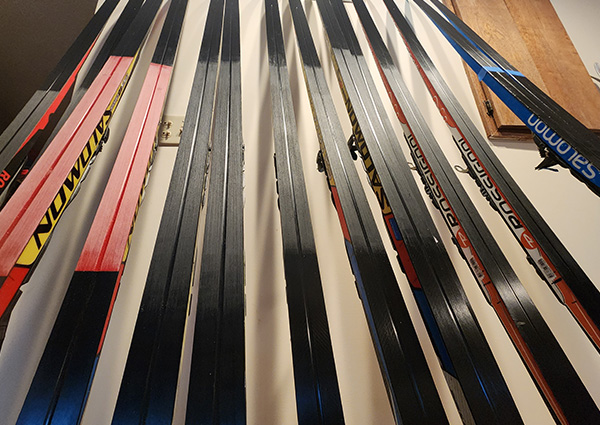
It’s important to understand the basics of how a classic ski works. It’s 10,000-year-old technology. Simply, about a third of a well-fit ski is off the ground when your weight is evenly distributed on both feet. That center third, when covered in sticky wax (or scales, or skins) will stick to the ground when you center all of your weight over that ski. But therein lies the devil of detail—if the ski fits correctly for your weight (also known as “ski flex”) then it only works when you commit ALL of your weight over that ski. We humans are built to be bipedal, but also to live with a little fear of falling. We tend to center our weight when we walk around, and we’ve been doing that since about age 1. It’s a hard habit to break, and classic skiing forces us to do just that.
Why Does Skiing on Wax Matter?
Skins and scales work great. Really great. They’re so great in all conditions that sometimes they’re too great. Meaning, you can get away with a little slop, like not having a full weight transfer. With wax, if you don’t make the commitment, you will slip. And that constant feedback is like having a personal coach whispering in your ear, “get over that ski next time!”
Wax slides for a bit when you kick through, and only sticks when you press down with full commitment. The momentum of the ski overcomes the friction of the wax until that one special moment when you commit and stick. That’s why wax is still preferred by racers—it doesn’t stick until you want it to. A well-waxed ski doesn’t drag quite as much as skins or scales. And yes, I know that there are some great pro-level skin skis out there, which I recommend to anyone who is already a great classic skier and wants to have that backup plan in their quiver. But if you’re learning to transfer weight, wax is the best built-in coach you can have.
What About Skating?
What I discovered after my year of classic, was that I really wasn’t shifting ALL of my weight in skate either. Skiing classic constantly in all conditions rewired my brain to get over my ski automatically. When that’s your habit, and you go back to skating, you end up in that same exact athletic position over your skate ski, but instead of sticking, you have now achieved a level of glide and rest that allows you to ski far more efficiently. That means you’re the one gliding effortlessly by that newer skier who doesn’t know your secret.
About That Wax
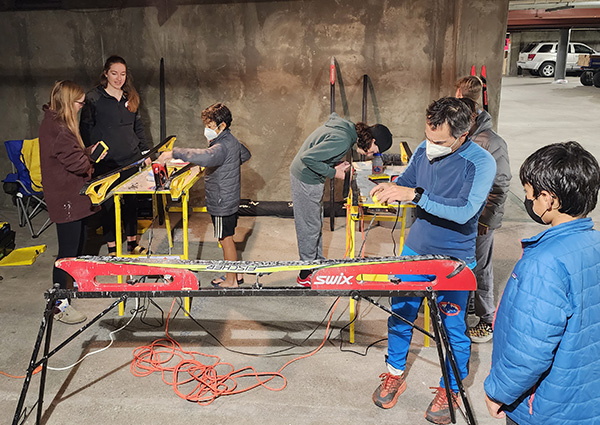
There are so many manufacturers out there, and I tend to be agnostic about ski wax—my wax box has many brands and flavors. However, as a coach, there is one brand I start all the kids on, and at this point most of TUNA’s juniors are waxing at practice themselves—even all the kids who are on waxed skis for the first time this year. They learned at a single practice, and you can too.
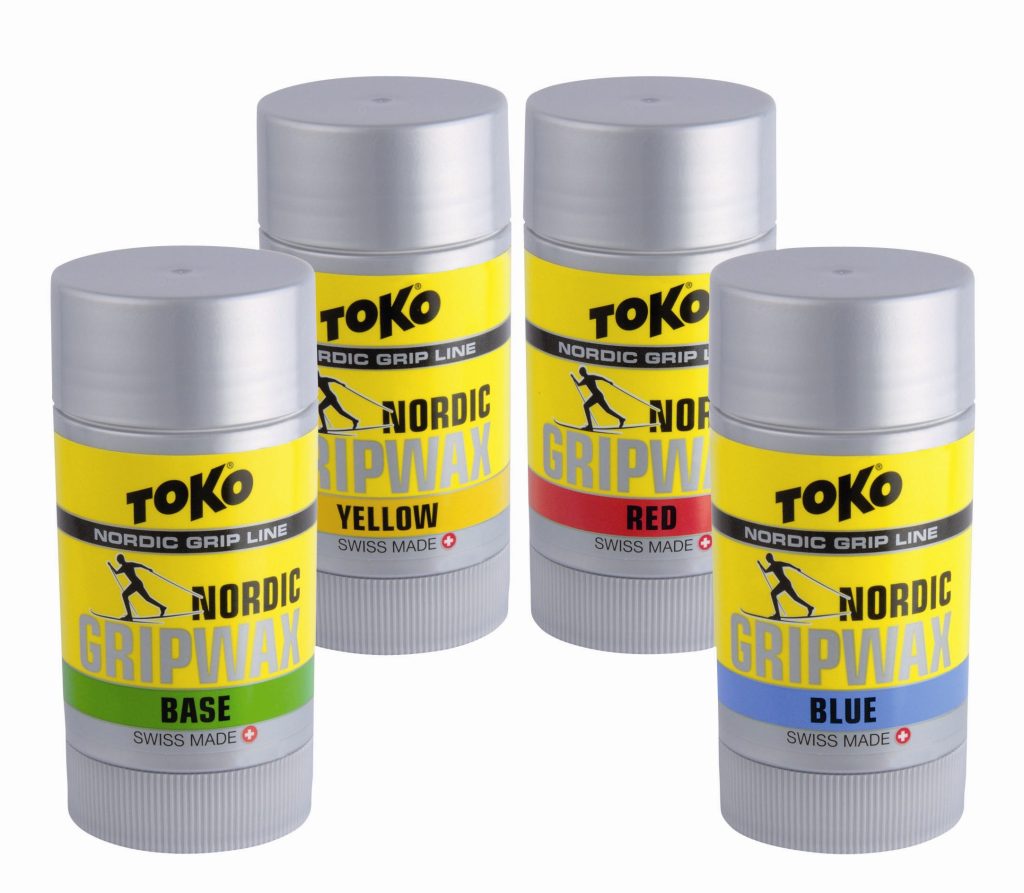
TOKO’s line of kick waxes makes the process easy to learn and teach. So, ready? Let’s jump in.
There are five flavors. XCold (polar cold, known formerly as Mint), Green Base (very cold and binder), Blue (cold), Red (warmer), Yellow (warmest). There is also klister, which I won’t get into in this piece, but that is super sticky and comes in a tube. We’ll save that for later. Mint doesn’t see too much use here, but put that in your pocket for West Yellowstone. Green serves two purposes. You’ll also need a cork, an iron, and a scraper (paint scrapers work great).
Getting Started
I’ll give an overview of strategy, but for actual application techniques, Ian Harvey at TOKO US has a huge library of videos that show all of these processes. You can find them at: https://tokous.com/category/application/. There’s one about sanding and applying binder, and one about applying kick wax (and many more).
On the weekend when you have a spare moment, you can get your skis ready for a week of skiing. Glide wax the glide zones first. Then, for the sake of learning, you can tape off your kick zone with some blue painter’s tape. That way you won’t oversand/overwax.
Sand and Apply Binder on the Weekend
Watch the video, and then sand your kick zone. (Only the kick zone!). You can then apply the green wax as a binder to hold the other waxes you’ll be using—there’s a video for that. Once you’ve done that, you have left your skis ready for whatever you’ll find at the track. If you are reasonably sure of what temperature it might be, or you’re going skiing right now, you can proceed to wax. If not, you can leave your skis as-is until your ski day. You’ve done the most time-consuming part, and the more you practice, the easier this gets.
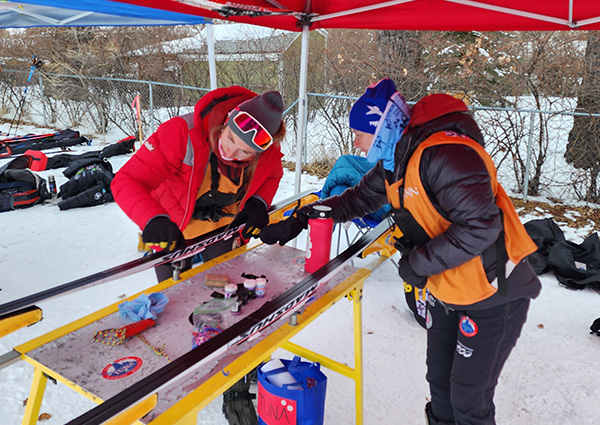
Kick Waxing, the Three Bears Method
We’ve all read the book. You’re Goldilocks, and instead of porridge, the bears have left you blue, red, and yellow kick wax. You can rub it on at the ski track and test your work right there. In fact, this is the best way to learn (along with those videos).
- Pick the wax you think is right for the temperature. If you know snow temperature, great. If not, use the air.
- If the wax doesn’t stick, and no snow sticks to it, it’s too cold.
- If the wax sticks, but snow sticks to it and it won’t brush off, (icing) it’s too warm.
- If the wax sticks, and the snow that sticks to it can be brushed off, it’s JUST RIGHT.
What to do if Yellow is Too Cold
That day is a great day to practice two other important ski skills: Double pole and herringbone. I jest, somewhat, but even in races there will be days when the wax you dialed in at the start doesn’t work. These skills can get you to the end of your ski day, and the more you practice, the more efficient you are.
Wax for the Week
If you prepare your skis on the weekend and wax them on the track when you’re going skiing, you can get away with skiing two or three times in a week on either the same wax, or you can use a paint scraper to scrape off what’s there and use something else. Scrape, smooth out with a cork, and apply a new wax. That’s not high-performance, but with some practice, it will take you maybe an extra 15 minutes to deal with your skis for your ski day. What you’ll get in return is a fast-track to weight shift that will improve your skiing far more than that extra 15 minutes of ski time.
It’s Simple!
I’ve simplified learning to wax and learning to train on wax. This isn’t a performance model—you’ll want to clean your skis and re-sand and binder them for races. There will be days you’re kicking yourself (or cursing me for this idea) punching the track with your poles because it isn’t working. Remember to take a minute to “reset”, start with little steps, and feel that magic moment when you hit the kick. Start on a really cold day, because that’s when you’ll get that blue wax success.
I equate the feeling of perfect kick to hitting a tennis ball in the center of the racquet, making that “bung” sound that let’s you know you hit it right. I wish you all happy learning, and remember that like anything worth doing, it might seem hard, the first few times you’ll miss more than you hit, but you will gain far more from this experience if you commit fully (much like that weight shift).
If I’m out skiing, I’m happy to tell you what’s kicking today if I know!